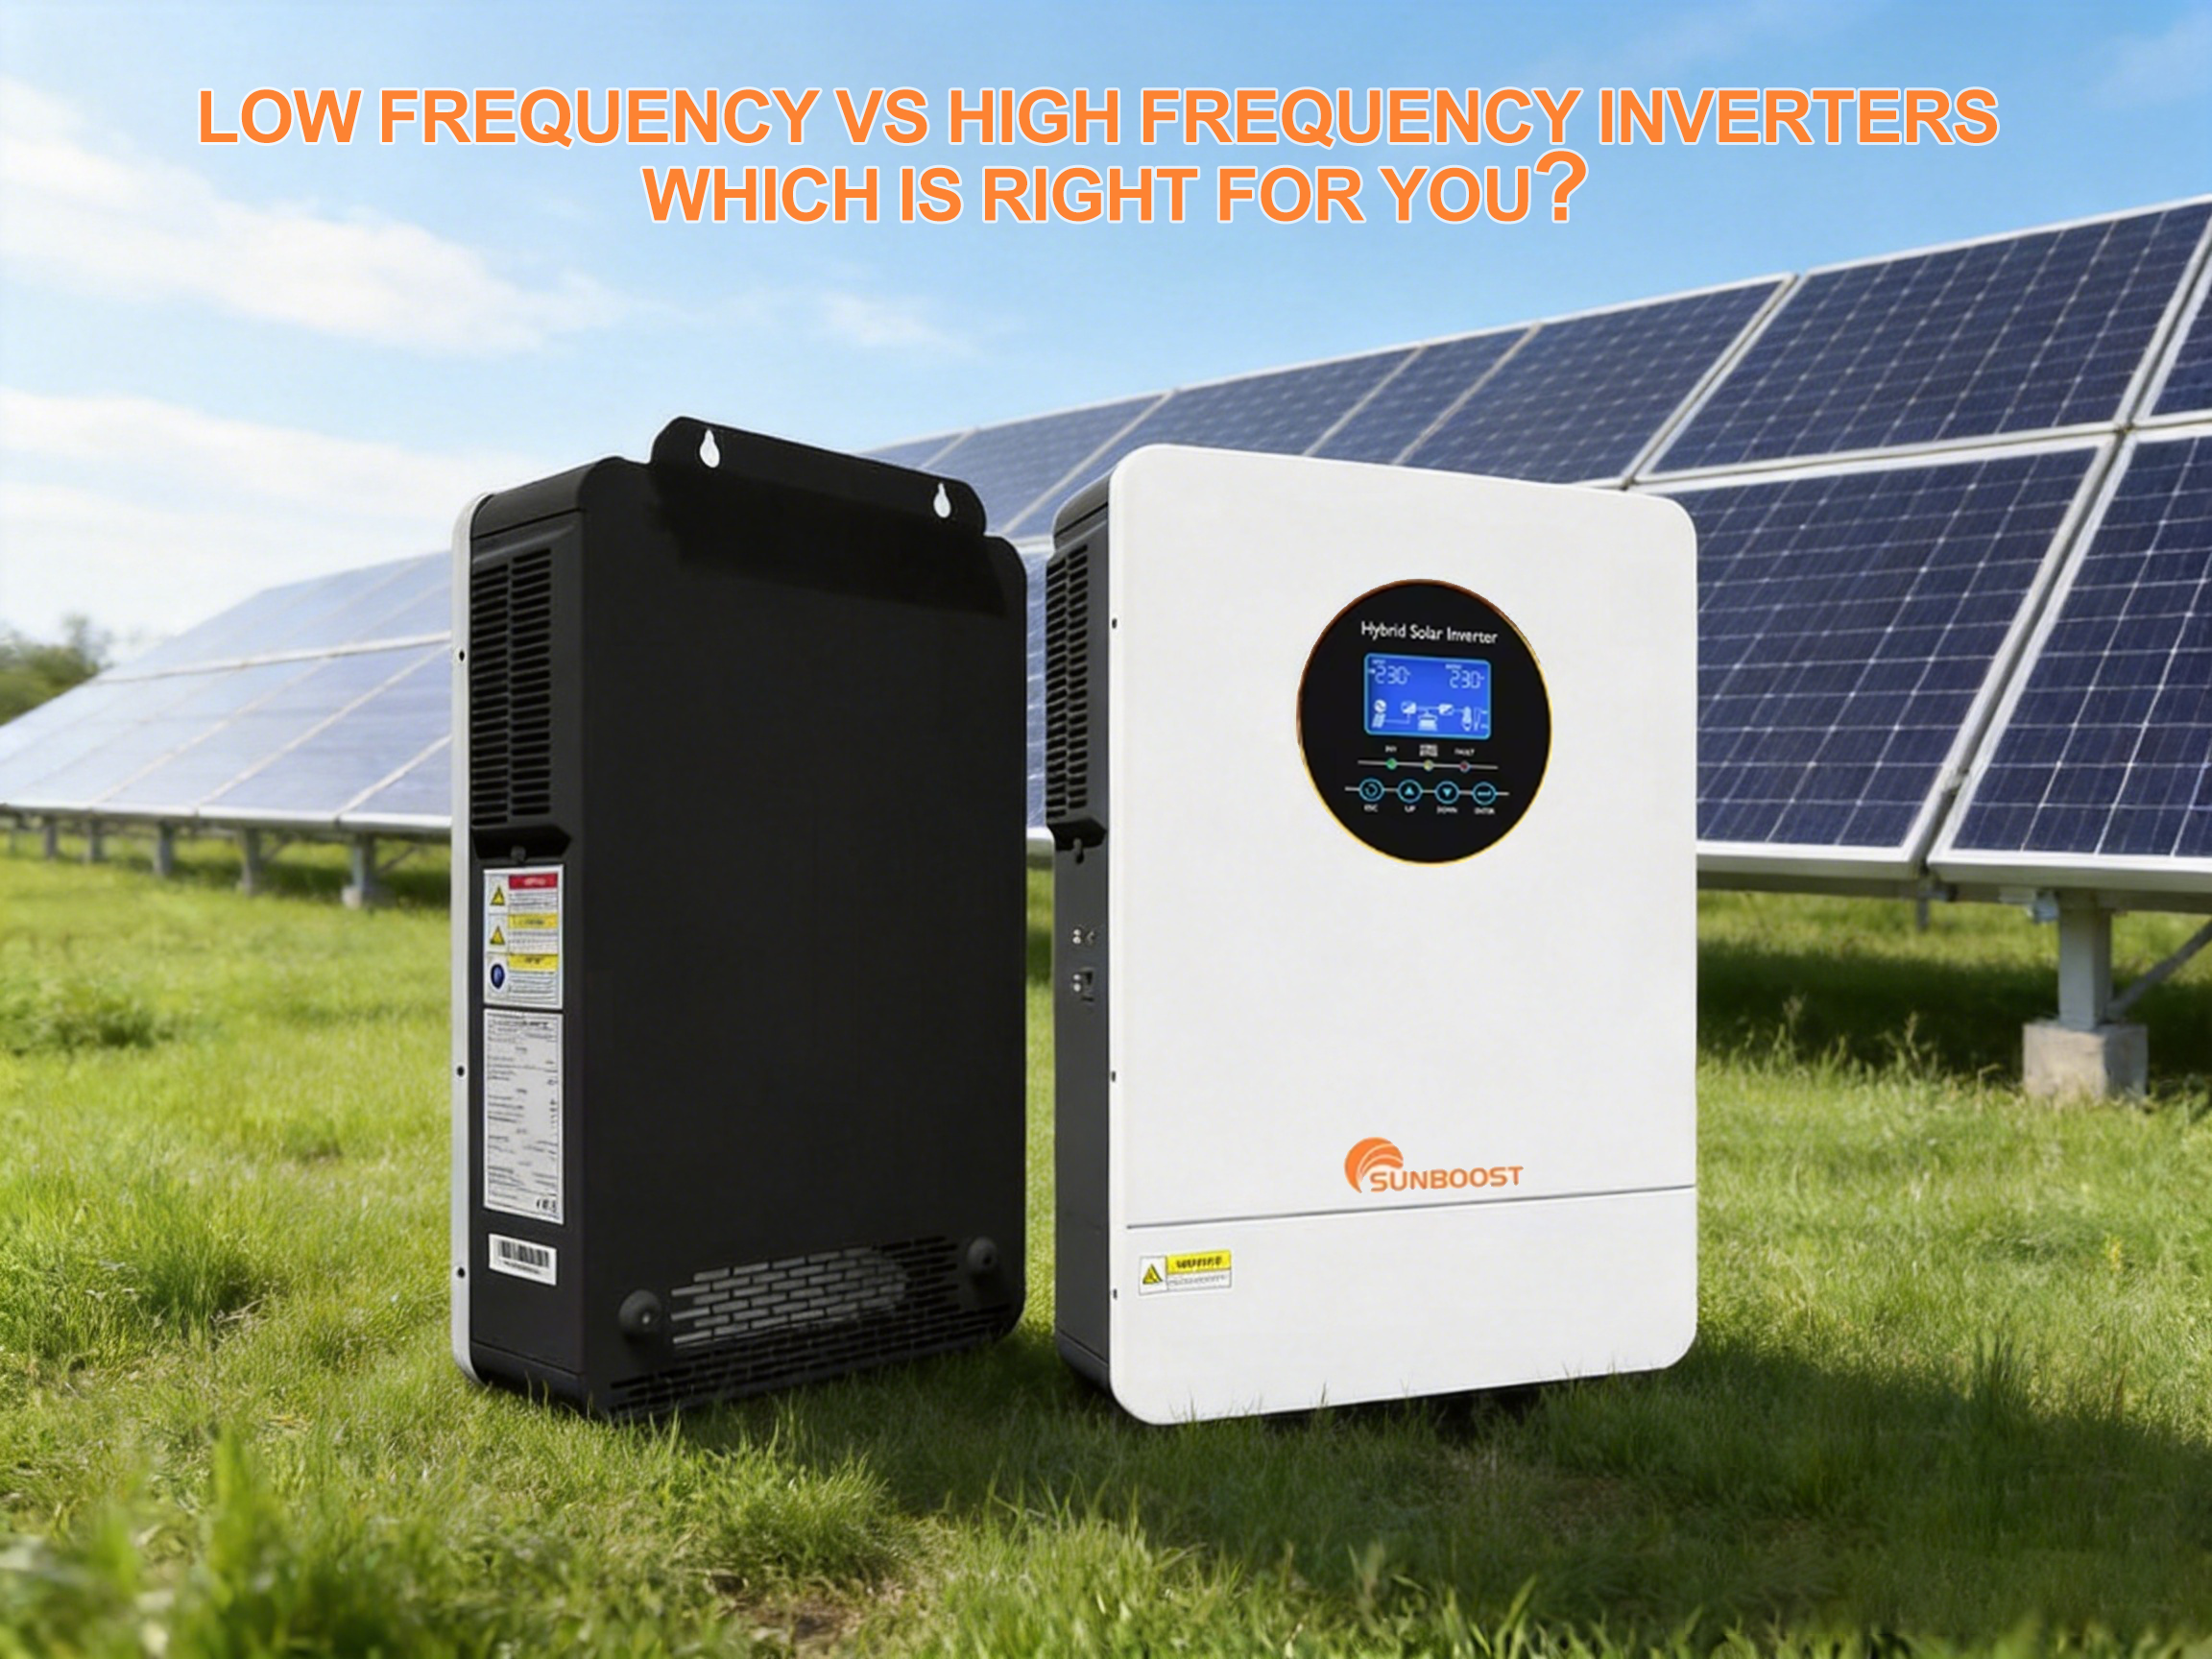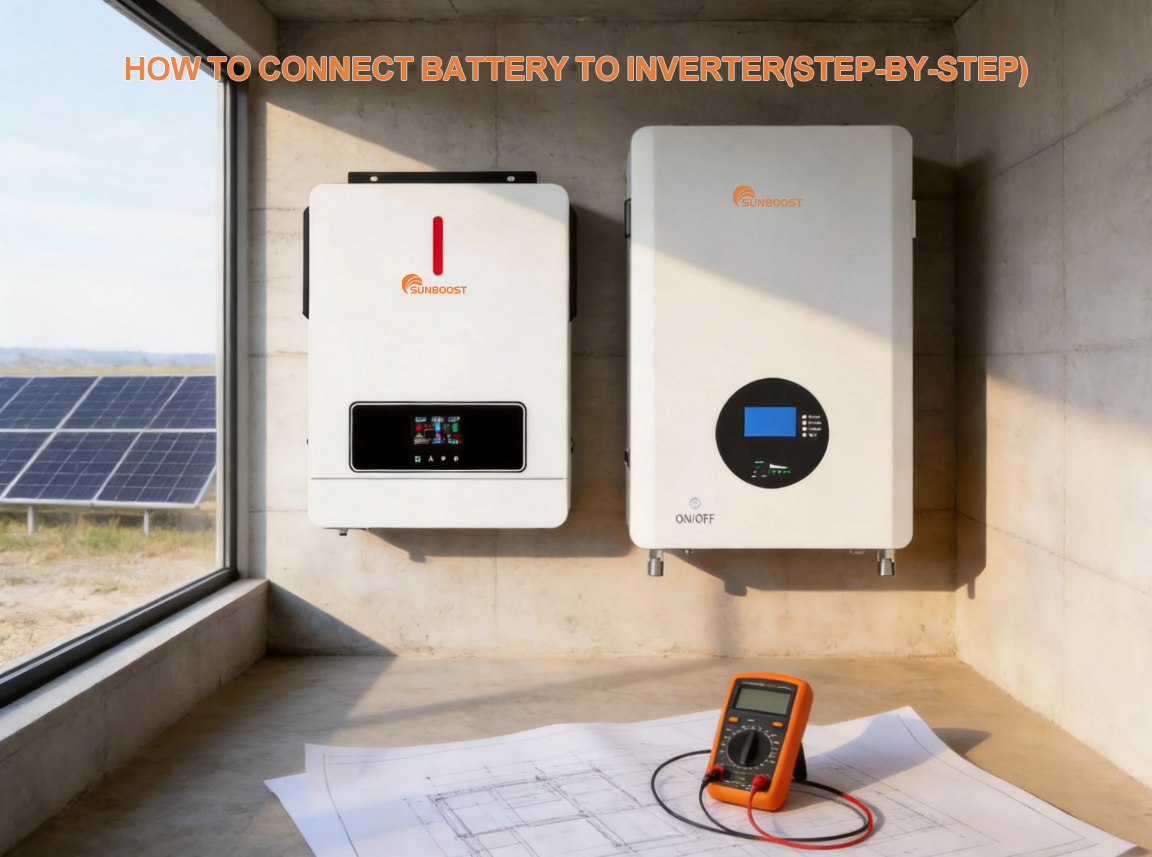
Inverter setups are now a must-have for households and commercial premises alike, serving as a dependable backup power solution when the grid goes down.The key to their performance lies in proper battery-to-inverter wiring, which smoothly converts stored DC electricity into standard AC power for daily use.
For DIY users and professional technicians alike, mastering the correct wiring method between inverters and batteries is essential to keep the system running safely, efficiently, and with a longer service lifespan.
In this guide, we’ll show you exactly how to connect a battery to a solar inverter safely, one step at a time. You’ll learn key safety do’s and don’ts plus useful tips to make installation a breeze. Ideal for DIY home upgrades and professional installers working on client jobs.
What Is a Solar Battery and Inverter?
An inverter converts direct current (DC) from batteries into alternating current (AC) to power household appliances.
Batteries store DC electricity generated by solar panels or the grid. Together they form a reliable backup power system, keeping lights and electrical appliances running normally during power outages.
Why Use a Battery with Solar Inverters?
1.Backup Power
Stored energy kicks in during blackouts to keep your vital home appliances operational non-stop.
2.Maximize Solar Self-Consumption
Store surplus solar power for evening and night use, rather than wasting it to the grid.
3.Lower Grid Dependence
Cut reliance on utility grid power for greater energy independence and supply stability.
4.Cut Electricity Bills
Use stored solar energy instead of buying grid power to slash monthly electricity costs.
Eco-Friendly & SustainableFully utilize renewable solar energy to reduce carbon footprint and support green energy.
SUNBOOST Solar Batteries and Inverters
At SUNBOOST, we offer solar batteries and solar inverters tailored to homes and businesses of different sizes and energy requirements.
Our batteries are made from lithium iron phosphate (LiFePO₄), one of the safest and most reliable battery chemistries on the market. We focus on the popular 24V/48V battery range — a proven, widely adopted choice in the EU and North American markets for its high safety, long cycle life, and excellent compatibility with mainstream hybrid inverters.
They are modular in design for flexibility and easy expansion. You can start with a small capacity and add more modules later as your energy needs grow, making the system scalable for both residential and light commercial use.
To complement our batteries, we offer a wide range of hybrid inverters suited to both residential and commercial applications:
3.6kW / 5.5kW / 6.2kW Hybrid Inverters: Ideal for standard home installations, balancing efficiency and affordability for daily household use.
10kW / 12kW Split-Phase Inverters: Designed for North American markets, providing stable split-phase power for larger households and small businesses.
3kW Hybrid Inverter: A compact, cost-effective solution for small homes, off-grid cabins, and backup power setups.
6.2kW On/Off-Grid Solar Inverter: Works seamlessly both with and without grid connection, offering reliable backup power and flexible off-grid operation.
11kW On/Off-Grid Hybrid Inverter (with parallel capability): Suitable for larger homes and small commercial sites, with parallel functionality to expand power output as needed.

SUNBOOST solar batteries and inverters are built to work seamlessly together. The inverters manage both the charging of the batteries and the flow of stored energy back into the property when needed. This integration creates a smooth, efficient system that maximises solar usage, reduces grid dependence, and provides reliable backup power for peace of mind.
What You Need Before Starting
1.Inverter unit (SUNBOOST or compatible, sized to match your load equirements)
2.48V LiFePO₄ solar battery (choose capacity based on your energy needs)
3.Insulated battery cables with matching connectors
4.Safety gloves and protective goggles
5.Wrench set or pliers for secure connections
⚡ Safety Precautions
1.Install the inverter and battery in a cool, well-ventilated area.
2.Keep both units away from direct sunlight, open flames, and water sources.
3.Ensure your hands are completely dry before handling any connections.
4.Never place metal objects on top of the battery to avoid short circuits.
5.Always power off the entire system before beginning any wiring work.
Simple Step-by-Step Connection Process
1.Place the Inverter and Battery
Set both units on a flat, stable, level surface.
Install the battery in a well-ventilated area, as LiFePO₄ batteries release minimal gases but still require airflow to stay cool.
2. Identify the Terminals
Battery Terminals:
Positive (+): Typically marked red.
Negative (-): Typically marked black.
Inverter Terminals:
Clearly labeled with matching + and - symbols.
3. Connect the Positive Terminal
Use the red insulated cable to connect the battery positive (+) terminal to the inverter positive (+) terminal.
Securely tighten the connection with a wrench to prevent loose wiring.
4. Connect the Negative Terminal
Use the black insulated cable to connect the battery negative (-) terminal to the inverter negative (-) terminal.
5. Double-Check All Connections
Ensure all cables are firmly secured with no loose strands hanging.
Verify the polarity: positive-to-positive (+ to +) and negative-to-negative (- to -).
6. Power On the System
If applicable, plug the inverter into the wall outlet.Switch the inverter on.
Your SUNBOOST system is now ready to provide reliable backup power during outages.
Connection Troubleshooting
1.Sparks at the connection points may indicate reversed polarity (positive/negative terminals swapped).
Check for loose or corroded terminals, which can also cause arcing and sparking.
2. Battery isn’t Charging
Possible causes include wrong inverter settings, faulty wiring, or insufficient solar power. Double-check your inverter configurations and cables to resolve the issue quickly.
If you encounter any issues, our SUNBOOST technical support team is here to help — feel free to contact us for guidance.
Conclusion
Connecting your SUNBOOST inverter to a battery is a straightforward yet critical step in building a reliable solar power system.
When done correctly, it ensures seamless backup power during outages, while also helping extend the lifespan of both your battery and inverter.Always follow safety precautions and refer to the official SUNBOOST guidelines for your specific model.
With this step-by-step guide, even first-time users can safely set up their SUNBOOST inverter-battery system at home with confidence.
If you’re looking for uninterrupted power supply during electricity cuts, pairing a SUNBOOST inverter with a battery is one of the most trusted and effective solutions.
We understand that wiring and safety steps can feel overwhelming at first, which is why this guide walks you through the entire process clearly and simply.Thanks for watching.